
Planning an event can often feel like solving a complex puzzle. Coordinating schedules, checking availability, and juggling different time zones might leave you overwhelmed. But what if there was a tool designed to simplify this process? Enter When2Meet—a user-friendly platform that takes the stress out of organizing gatherings, whether they’re casual meetups or important meetings.
With When2Meet, you can effortlessly find the best times for everyone involved. Its intuitive features make it easy to create events, customize details, and manage responses with just a few clicks. Say goodbye to endless email threads and confusing group chats! Let’s dive into how When2Meet can transform your event planning experience from chaotic to seamless.
Creating an Event on When2Meet: Step-by-Step Guide
Creating an event on When2Meet is straightforward and user-friendly. Start by visiting the When2Meet website. You’ll be greeted with a clean interface that’s easy to navigate.
Click “Create a New Event.” Here, you can name your event and add any additional details like location or purpose.
Next, select the dates for your event. Use the calendar tool to mark potential days that suit you best. This feature makes it simple to visualize options at a glance.
After setting your date range, specify time slots where participants might be available. Flexibility in timing ensures more people can join in.
Once everything is set up, click “Save.” Your unique link will generate automatically—share this link with everyone invited so they can respond easily.
Customizing Your Event with Advanced Options
When using When2Meet, customization is key to creating the perfect event. You can easily adjust time slots to fit your group’s needs. This flexibility allows you to highlight specific days and hours that work best for everyone.
Advanced options also let you set a timezone for your event. This feature is especially useful if participants are scattered across different regions. It ensures that no one misses out due to confusion about timing.
You can add additional notes or instructions as well, fostering clear communication among attendees. Whether it’s a meeting agenda or special requests, these details help clarify expectations.
Consider enabling notifications for reminders as the date approaches. Keeping everyone informed makes sure your event runs smoothly from start to finish.
Inviting Participants and Setting Availability
Once your event is created, it’s time to invite participants. When2Meet simplifies this process with easy sharing options. You can copy the event link and send it via email, social media, or even messaging apps.
Participants will land on a user-friendly page where they can mark their availability effortlessly. They simply select the time slots that work for them using color-coded blocks—green for available and red for busy.
Encourage everyone to respond promptly to ensure you gather enough input. This helps in identifying the best possible meeting times quickly.
For larger groups, consider sending a reminder message as the deadline approaches. Keeping communication open makes sure no one gets left out of the planning process.
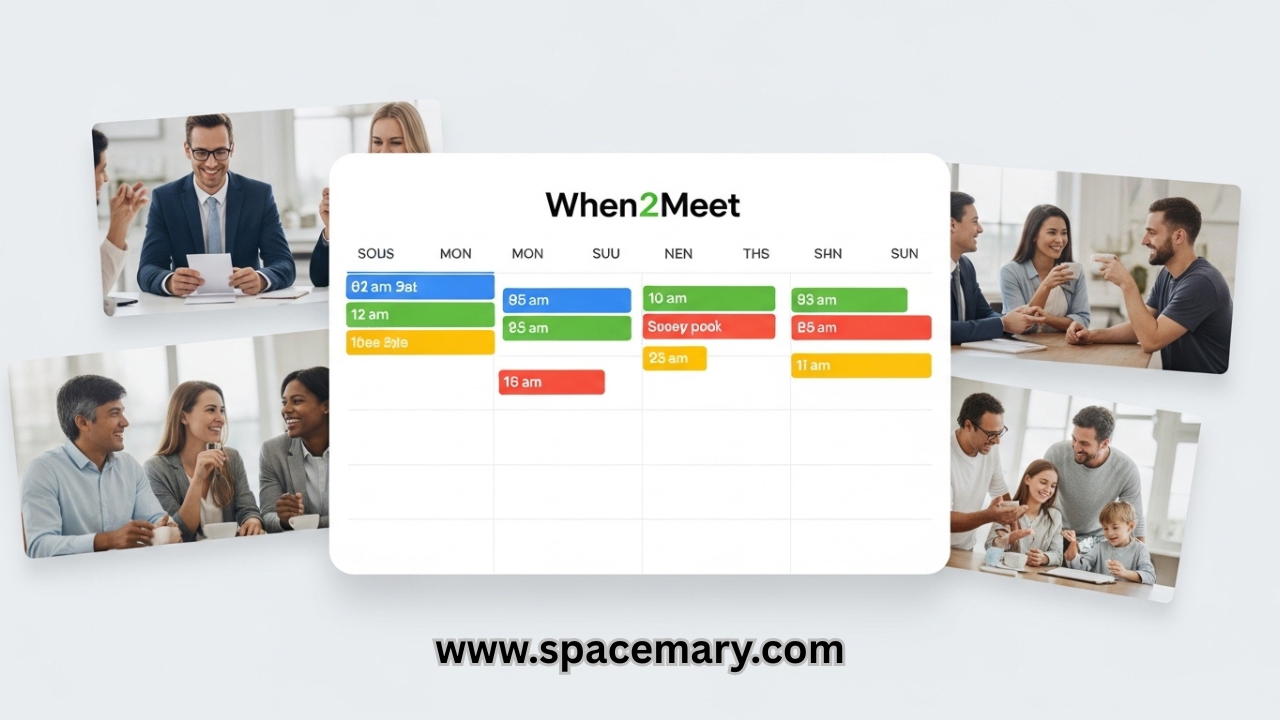
Using the Result Viewer to Determine the Best Time for Your Event
Once your participants have shared their availability, it’s time to dive into the Result Viewer. This feature is a game-changer for pinpointing the ideal time for your event.
The Result Viewer presents a clear visual representation of when people are free. You’ll see blocks of green indicating availability, making it easy to spot common open slots at a glance.
Look closely at these patterns. The more green you see clustered together, the better! It helps in quickly identifying peak times when most attendees can join.
You can even adjust filters to focus on specific days or time ranges if needed. This flexibility ensures you’re not just picking any random slot but rather selecting one that works best for everyone involved.
Navigating through this tool creates an effortless planning experience while ensuring maximum participation from your group.
Tips for Successful Event Planning on When2Meet
To make the most of When2Meet, start by clearly defining your event’s purpose. Knowing what you want to achieve helps set the right tone.
Next, invite participants early. The sooner they respond, the easier it is to find a suitable time for everyone involved. Use reminders if necessary; people can easily forget about upcoming events.
Consider time zones when scheduling. If participants are in different locations, provide options that accommodate all attendees without causing confusion.
Encourage honest availability from your guests. Some may feel pressured to attend when they’re not fully available and this could lead to frustration down the line.
Stay flexible after receiving feedback on schedules. Life happens and unexpected changes might occur; being adaptable will ensure a smoother planning process and happier participants overall.
Conclusion
When it comes to planning events seamlessly, When2Meet stands out as an invaluable tool. Its intuitive design simplifies the process of scheduling gatherings, whether they are casual meet-ups or important meetings. By following the steps outlined in this guide, you can create and customize your event with ease.
Utilizing features like inviting participants and setting their availability ensures everyone is on the same page. The Result Viewer provides clarity on the best times for your event, saving you from tedious back-and-forth conversations.
Remember to take advantage of tips for successful planning; a little preparation goes a long way in making your gathering enjoyable for all involved. Embrace When2Meet’s capabilities and watch how effortless event planning can be!